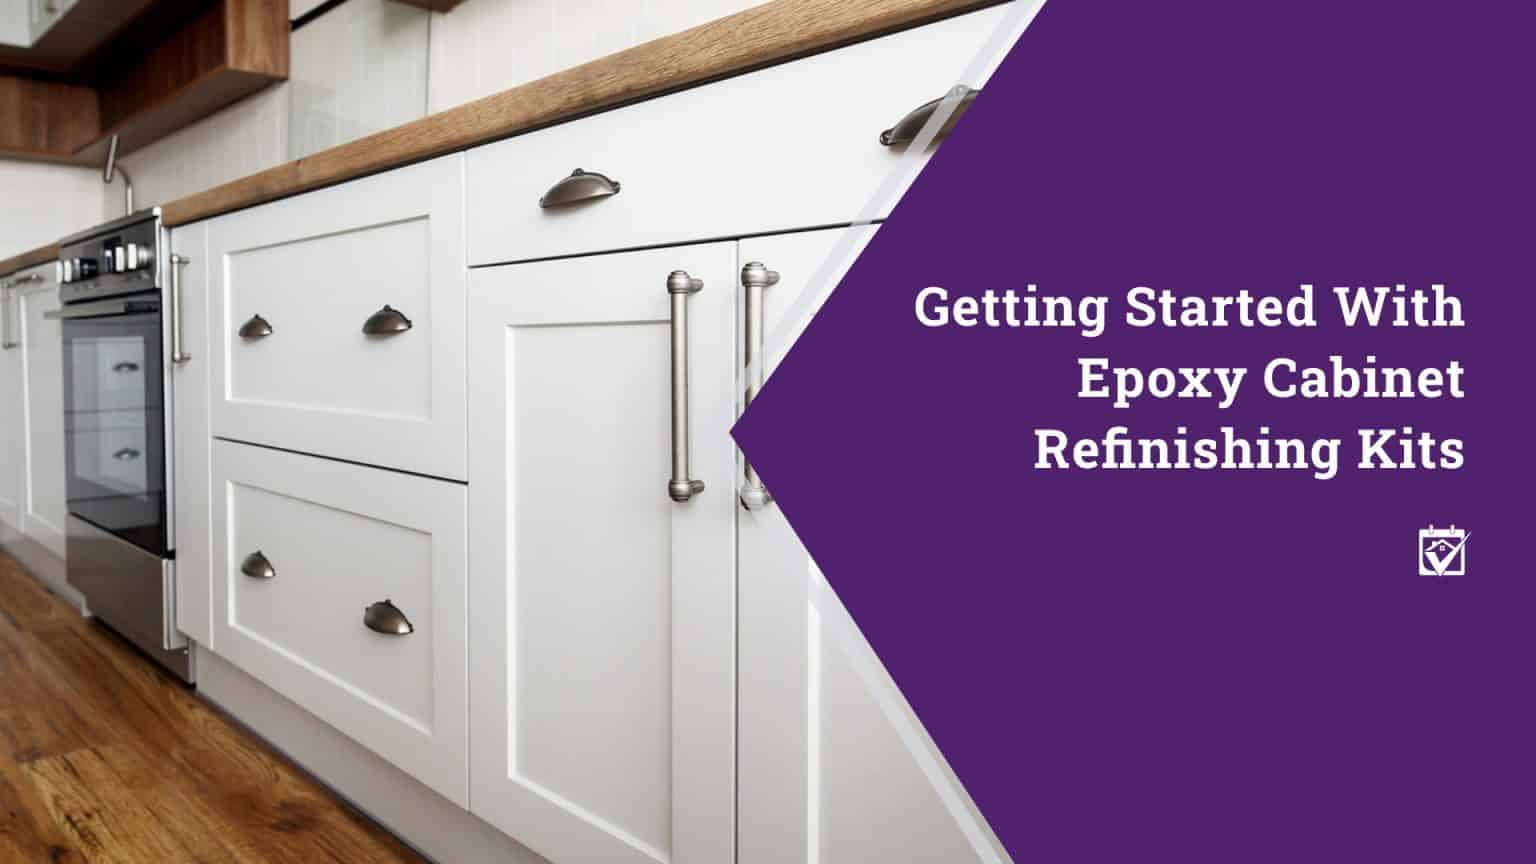
What do you do when your kitchen needs a facelift? Those cabinets are solid, they’re functional, but man, are they dated! One option many homeowners are turning to is cabinet refinishing kits. Many of these pre-built kits use a water-based epoxy coating to ensure that the cabinets get the most rock-solid finish possible without investing in a lot of professional grade equipment. But there’s a lot more to refinishing cabinets with these materials than opening the can and getting to work.
Prepping for an Epoxy Finish
If you’ve never heard it before, take this away with you: The biggest predictor of success for your DIY project is how well you prep your surfaces and work area. It’s really that simple, even though prep work can be pretty involved. Creating a clean, smooth, ready to coat cabinet door takes a lot of effort, but yields magnificent results. This is the number one secret of the pros, besides having all that fancy painting equipment.
So how do you prep for an epoxy cabinet refinish? There are steps.
- Remove all the cabinet doors, drawer fronts, and hardware. Label each and store them where they won’t get lost or damaged. Using sticky notes to track cabinet doors can be a really good trick, since doors may look alike but not actually fit the same.
- Fill any cracked surfaces with a compatible filler and sand it smooth. You can’t simply paint away problems in your cabinetry.
- Clean your cabinet fronts, cabinet doors, and exposed finish on cabinet bases thoroughly to remove oils, spills, and other messes that will interfere with paint adherence.
- Cover any surface that you don’t want paint on. This includes your backsplash and your countertops, and even your work area. This is not a material that you can necessarily just peel off should you have a drip.
- Set up areas for your doors and drawer fronts to cure. Curing can take several days per painted side, so ensure the area is super clean and free of any drafts that could deposit dust and other debris.
Only once you’ve fully prepped your area should you begin the task at hand. Taping your cabinet bases can help keep the paint lines sharp, but remember to remove the tape while the paint is wet for the best results. It’s not always necessary to paint the insides of your cabinets, but should you choose to, remember that the pre-built kits are only designed to cover outer surfaces, so you’ll need extra coating material.
The Right Equipment Matters
Another important thing to know about using an epoxy cabinet refinishing kit is that the right equipment really does matter. Buy the right tools, and don’t just settle for a single brush or a single roller; they come in a variety of options for different jobs. Because rollers and brushes both create different textures depending on their design, it’s going to be really important to make the right choices here. Ask experts if you’re not sure. Rollers are not all the same, and there are lots of differences in naps and roller density. And brushes made of natural material are very different from synthetics.
The size and shape of your rollers or brushes also matter big time. Brushes in particular come in tons of different shapes, each meant to do specific jobs. For example, an angle brush will help you get into corners better, though they can also be used on the flat, open areas too, if you’re careful. Rollers vary dramatically in width, and bigger isn’t always better.
Whatever you do, though, don’t mix brushes with foam applicators of any sort. The resulting texture won’t be consistent and will likely drive you to refinish your cabinets yet again long before the epoxy coating is in need of refreshing.
For a Faster, Harder Coating…
If you’re not sure you want to live with the excitement that is refinishing your cabinets, you’ve got another option: you can call in a painter. Professional painters often use harder coatings like lacquers and oil-based epoxies, as well as paint sprayers to ensure a smooth and even finish. Because they can take your cabinet doors away to their shop, it’ll also minimize the mess you have to live with.

